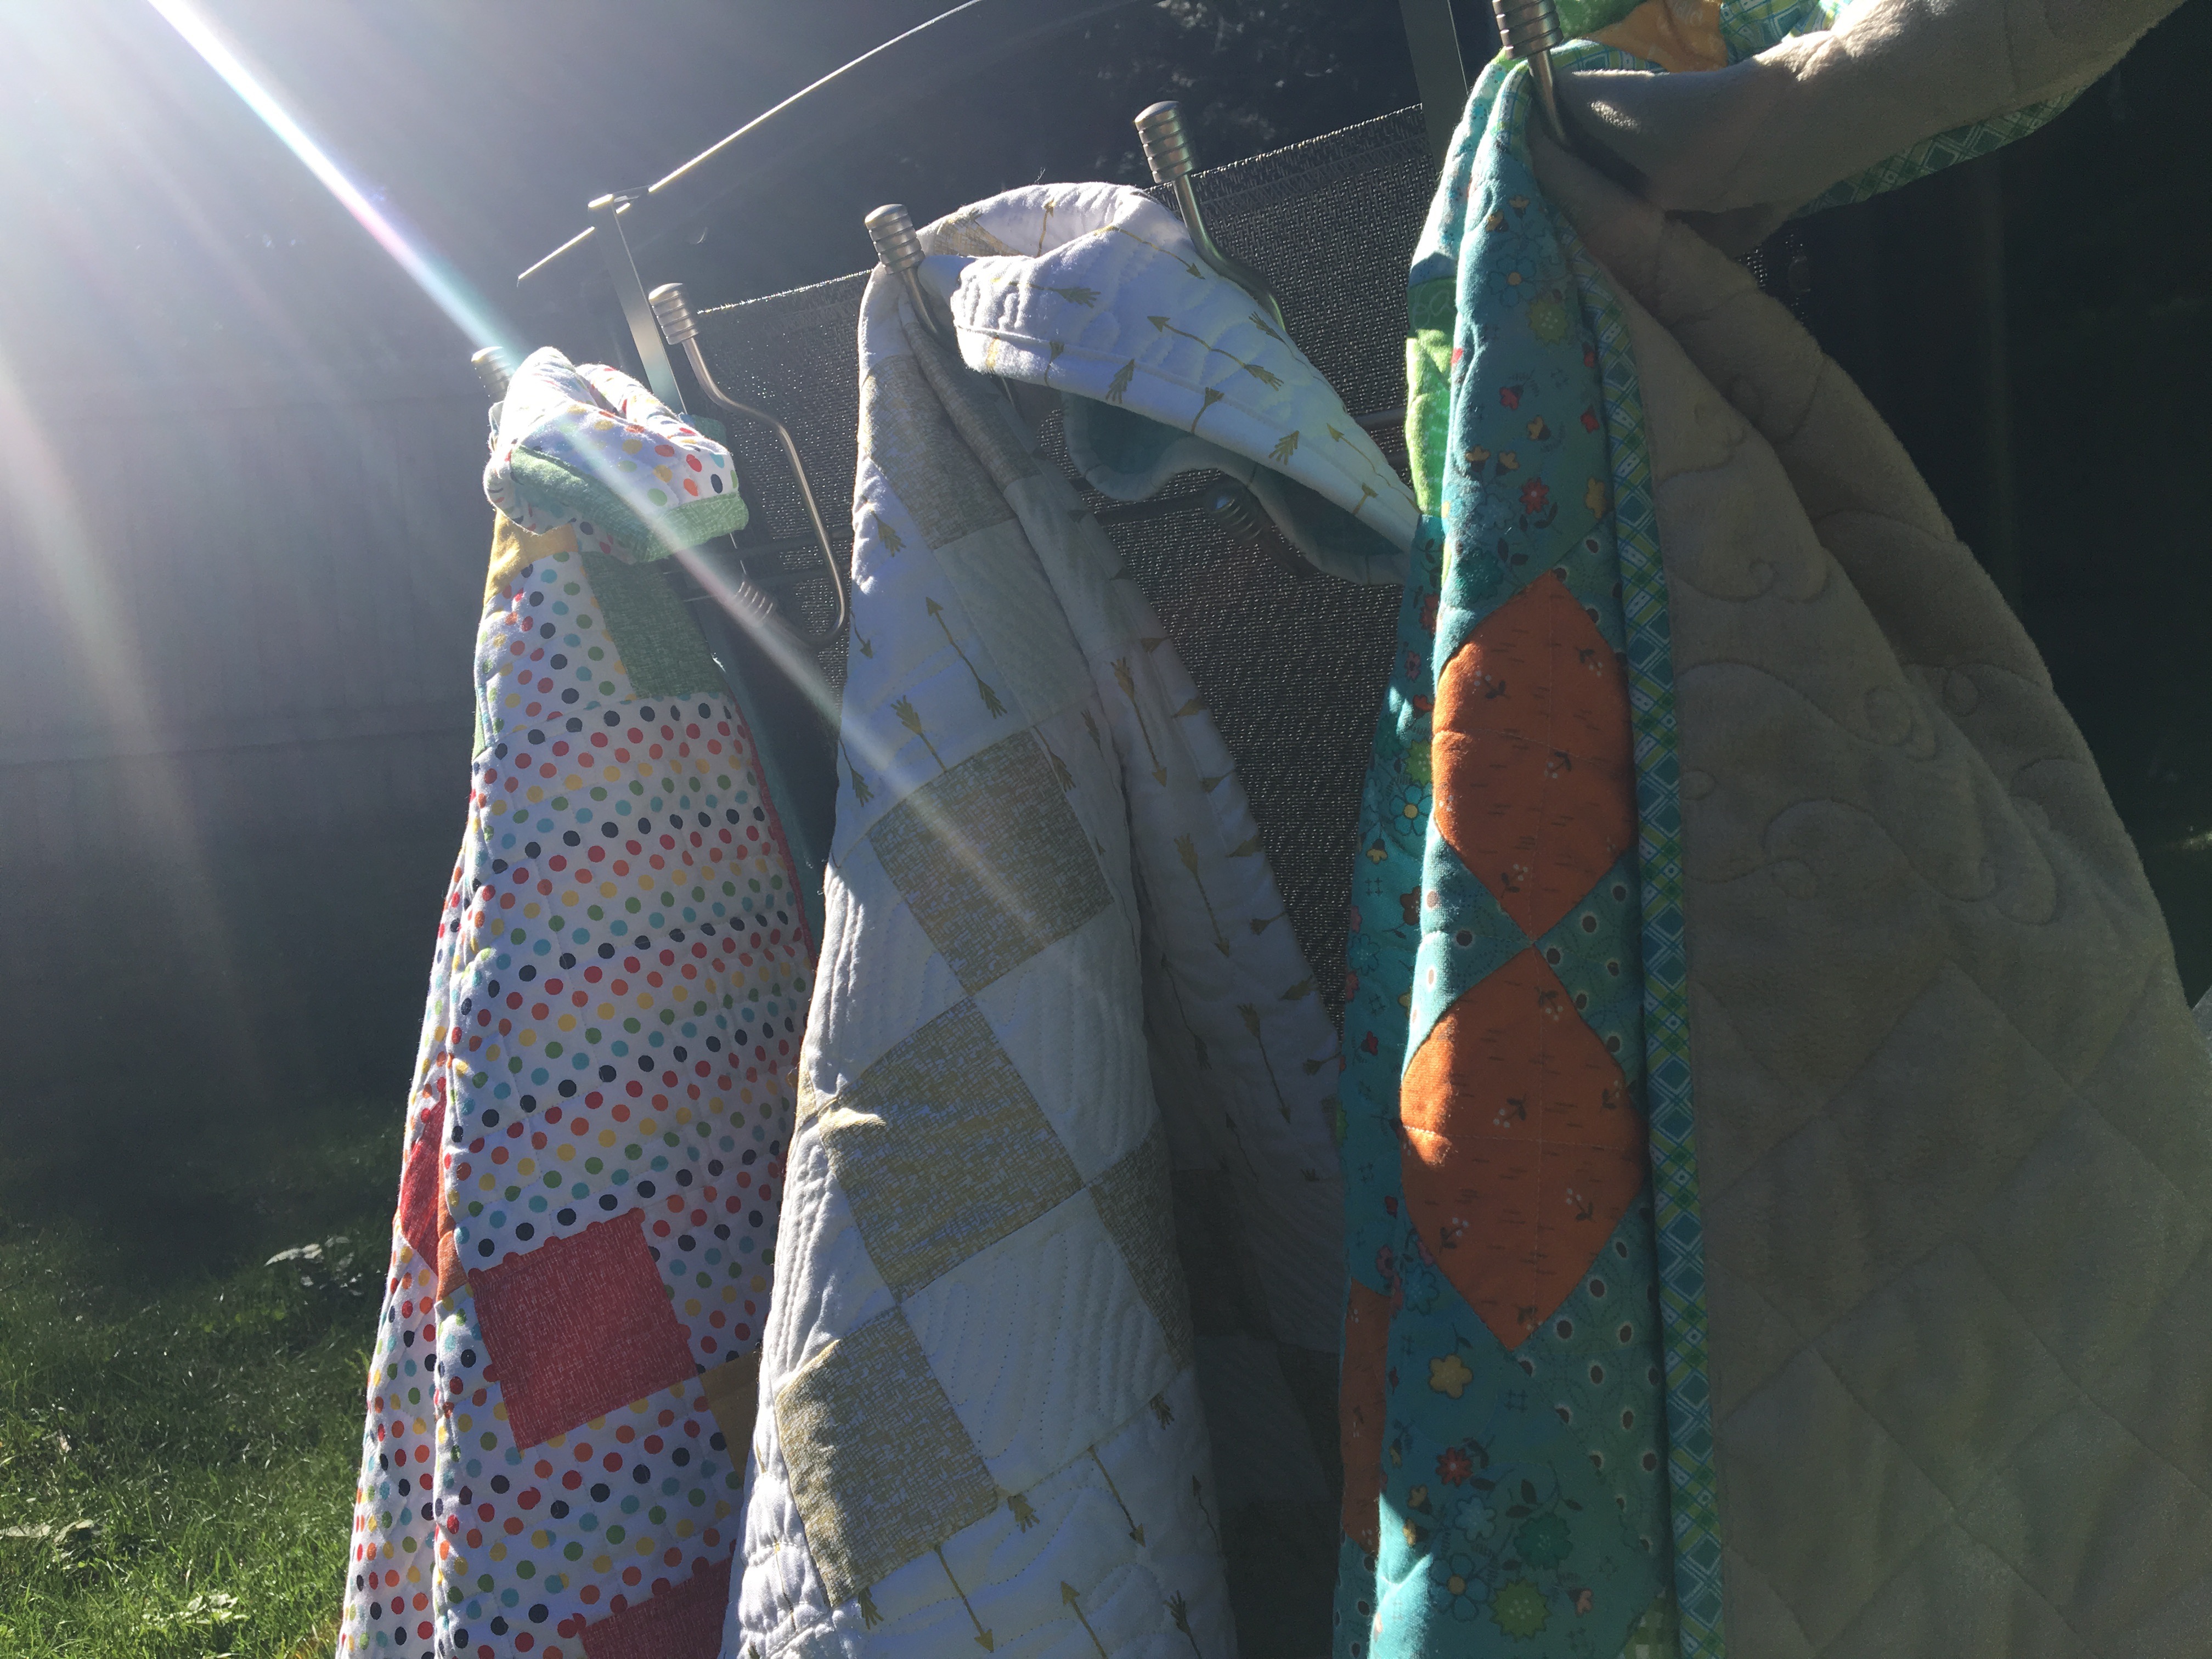
The quilting journey has been one of great joy and creativity for me in so many ways. This week shares the basics of of all the quilting ‘stuff’ that is required for this awesome ride. I also have videos detailing all of what I have explained here.
Sewing Machine
A sewing machine doesn’t have to be state of the art. Here are a few of my favourite features on my sewing machine, which probably means you would appreciate them as well.
Speed. I like a machine that has power and speed. Speed is really great for faster piecing which means the sooner you get to free motion quilting. As your skills increase you will appreciate the speed and power. The ability to put on a quilting table is an extension on the machine that provides a spot for your left hand to move the quilt sandwich around at the same height as the base of the machine.
Fabric
I recommend that you use 100% cotton for all of your projects. Quality cotton = quality results.
Pre-wash- if using this quality of cotton there is no need to prewash. It is a personal preference. I do recommend pre-washing reds and bright pinks or purples to reduce bleeding. Using colour catchers helps! I alway prewash flannels before I sew with them. There is no need to prewash minky or other synthetic backings like polar fleece. Never pre-wash batting. Only wash batting when it has been secured in a quilt.
Terminology (click on the links for examples of the following)
Pre-cuts- purchasing fabric that has been cut and prepared by the manufacturer
Fat Quarters– pieces of fabric that come in 18 by 22 inch pieces
Rollie Pollie– fabric has been cut 3.5” wide by the length of fabric 42”
Jelly Roll– fabric has been cut 2.5” wide by the length of fabric 42”
Layer Cake– fabric has been cut into 10” squares
Yardage– buying fabric off the bolt
Flannel– soft cotton fabric
Minky– basically a kitten in fabric form, it is so soft and cuddly that you will not want to stop snuggling with it
Thread
Thread is created from an assortment of fibres from cotton to polyester to wool. Thread is measured in thickness using a gauge system. The higher the number the thinner the gauge. The average weight is 50 weight for most piecing and quilting.
I have linked to Signature threads trouble shooting page that has approximately 20 different trouble shooting guides for tension and thread troubles. Your welcome!
One thing that I will mention here because I was blown away by how helpful the following info it. It is also helpful to notice the way the thread is wound onto the spool to assure the proper ‘release’ of the thread. I have demonstrated this concept in the video. Rule of thumb, is the thread is wound on the spool criss cross the thread needs to be lifted off the spool through an arm to help release the twist that can occur if the thread is taken straight off the bobbin. Imagine what happens when ringing out a wet towel, the more the ends are twisted, the shorter the towel becomes. This is what happens with thread if it continues to be wound around and around. See video for further explanation,
Needles
There are sooo many different types of needles and this can be overwhelming and intimidating. To keep it simple, I recommend that you buy one type of needle and stick to that. I use top stitch needles for piecing and quilting. The benefit of a top stitch needle is that the shaft leading into the needle is curved and the thread slides perfectly inside.
Like thread, there is a variety of needle sizes. When looking at the sizes there are usually two numbers side by side because there is an American and European size. The larger the number, the larger the eye of the needle is. Pairing the correct size of thread with needle eye makes a huge difference!! I call this the winning combination of reducing a whole heap of thread breaks, thread tension troubles and an overall happier quilter!!
I thought that this article was very comprehensive about needles. The various elements of a needle and their different uses are explained quite well.
Rotary Cutter
I love the accuracy and speed of a rotary cutter. Although I have many ‘war wounds’ because the blades are so sharp, I have just implemented safer habits around the use of it.
Dara’s Top 5 Safety Rules with Rotary Cutter
1. Always keep the cover on when not in use.
2. Keep out of reach for children.
3. Teach children what the rotary cutter is and its uses.
4. Always use a sharp blade for safety and for ease on hands and wrists.
5. Keep the original case the blades come in and indicate ‘Old’ on the outside it to dispose of the blades properly.
Self Healing Mat
I recommend have two mats in your quilting tools. The 36 by 24 inch mat is so very important to have when cutting out fabric, squaring up blocks and prepping quilts for binding. They are a very useful investment. If storage is a problem, I recommend under your bed or behind a couch are helpful easy ways of tucking it away. I also really like to have a second mat 12 x 18 inches beside my machine for quick piecing, squaring up and trimming.
Rulers
There are so many different ruler out there- which can lead to becoming overwhelmed! Start off with the following basics and then add as you expand your quilting abilities. The Cute Cuts squaring up rulers are fabulous for squaring up pieced blocks, for fussy cutting, for cutting squares out of scraps and for squaring up finished quilt corners. The Cute Cuts rectangle ruler set is awesome for many of the same reasons.
I also recommend a 6.5 by 24 inch ruler for cutting yardage.
Pins
I recommend investing in good quality quilting pins that are long and thin. Glass heads are handy for ironing because the heat will not melt the head. I like the flower head pins for piecing and organizing my sets. I recommend that you experiment with all different pins. I would love to hear what your favourite pins are and why. There is so much that we can learn from each other.
Quilt Threader
There are some pretty awesome threaders out there. I have linked you to a variety that you can look up and try. I have this one and this one. Here are a few others. Also, there are many machines that have threaders on them. You many have one on your machine and just not know it. GO check and see. If you do, learn how to use it, it will save your time and effort.
Here is a video I found showing how to use this awesome Clover threader.
Wonder Clips
I really love these!! I love that Wonder Clips now come in two sizes. The regular size and then the mini clips are so wonderful for the more detailed touch.
I found this video from Lori Holt sharing her experience with the Wonder clips.
I really love to use these are binding as well. I love them for English Paper Piecing. They are super handy for organizing cut pieces. One of the features of the mini clips that I really love is that they come in several colours. Because I like to keep all my piecing sorted and organized, being able to colour co-ordinate is fantastic. The carrying case is fantastic and one extra bonus of it is that a small spool of thread fits in so the thread as come along and not get tangled or lost in the bottom of your project bag.
Stitch Ripper and Awl
I like to think of stitch rippers are there to help us fulfill our creative need to change up our designs, rather than a tool of frustration because we didn’t get it right the first or second or third time. This stitch ripper is so handy to have for quick use. It is light weight, sharp and fits nicely in my hand. The sewing awl or stiletto is wonderful to guide the fabric through the sewing machine if my hands can’t quite fit.
Batting
Winline batting has a wonderful product and has generously donated 4 different types of batting to the charity quilt along. This description below is from their website describing the different battings out there, the qualities of each kind and reasons why some batting is more appropriate than others.
- Cotton—Cotton is an all natural and breathable fiber that is most commonly found in quilts. It is soft, washable, and quilts easily unless it’s been needle-punched. It wears well with age and washing. On the down side, as a crop, conventionally grown cotton takes a lot of fertilizers, pesticides, and bleaches before it reaches the quilter.
- Polyester—using polycarbon fibers as a batting fill allows you to have any number of loft thicknesses and sizes. It is lightweight, warm, non-allergenic, doesn’t shrink, and is completely machine washable. On the other hand it doesn’t breath as well as natural fibers and has a greater tendency to beard. It is also a synthetic petroleum based product and not a renewable source.
- Cotton/polyester blends—blending the two materials ads loft to the batt while still maintaining some of the good qualities of the cotton including its breathability and softness. Both polyester and conventionally grown cotton are fairly eco-unfriendly products.
- Wool—Wool batting is lightweight, warm, breathable, and naturally flame resistant. It quilts really well because of the natural lanolin in the fibers, and is a good choice for heirloom quilts. However, it needs careful washing and drying to keep from shrinking, can cause allergic reactions, and must be protected from moths and other insects. It also tends to be more expensive than other types of battings.
- Bamboo—Bamboo and bamboo blend batting is fairly new on the market and is growing in popularity. Bamboo is a highly sustainable plant that needs no chemical fertilizers or pesticides to grow, it is breathable like cotton, has minimal shrinkage, contains no bleaches, glues, or binders, and is naturally antibacterial. It is bit more expensive than cotton but is proving to be a good choice for heirloom quilts.
- Silk—Silk batting is lightweight and thin yet still warm and breathable with a beautiful drape. It is a good choice for quilted clothing. However it must be washed carefully as it shrinks a good deal and it is also quite expensive.
Iron and Ironing Board
I have a stand up board that I use and quite often keep it to the side of my machine and have adjusted it to be at the same height so that I can press beside me and not have to get up. I would recommend using a standard ironing board to see what you prefer. Here are some examples of some lovely ironing board set ups.
I really enjoy having my small iron from Clover that I keep beside my machine for quick piecing. Have you ever seen the Oliso irons that pop up and down when used or not used? I totally love them. They also really save your wrists because they ‘pop up’ off the ironing board and not burn it, the iron does not need to be put up and down constantly. For larger projects I really love my Oliso.
Shopping and Materials
Here is a list of all the fabric required for next week when I will be showing how to cut out all the fabric required for the project. Can I get a wahoo? I am giving you permission to go to the fabric store. Consider this as homework. And really, I am a certified teacher with an up to date teachers license so this is legit.
Select 3 fabric for this quilt. Please note that this quilt can be made with scraps also.
Fabric A: .25m or .3 yards
Fabric B: .25m or .3 yards
Fabric C: .6m or .7 yards
Binding Fabric: .25m or .3 yards
Backing Fabric: generous meter (42×44 min)
Batting: I recommend 80 cotton/ 20 polyester blend. 50 Inches square. 1.25 meters
I do have a PDF that has a printable version of this blogspot so if you would like it send me your email address, I can put you on my list and then send it to you. I have included comments on each item that are slightly different from the post- more insights.
I also have videos describing all of these features.
Cant wait to see you next week for cutting out.
Take pics of your fabric when you have them, I can’t wait to see.