How to Read a Pattern and Cut Out Fabric
To watch this on YouTube press this link.
I am going to be using my 9 Patch Wonder pattern as a guide with how to cut out the pattern. Most patterns follow the same format. If you ever have trouble reading a pattern most pattern writers are very happy to clarify and give direction. I always recommend that you read the entire pattern first.
Materials Required
This is the shopping list. In my experience, having all the materials required before starting makes the process more smooth.
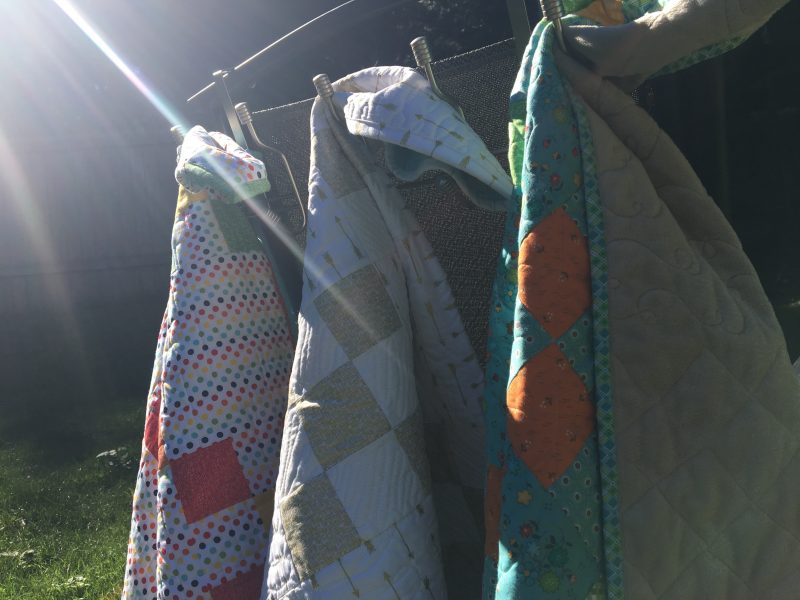
It can often feel overwhelming to select the ‘perfect’ fabric combinations for your quilt project. When a fabric designer releases a new line of fabric they ensure that the fabric co-ordinates, so using any of those fabrics in that line will work for your project. As you gain more experience with combining fabrics, this process will become one of your favourite parts of the quilting process.
Another note about selecting fabric combinations is to review colour theory. There is a great review about colour theory here and here.
Cotton
I highly recommend that you select 100% quilters cotton when choosing what fabric you use. If the fabric is a rich colour like red, pink or purple I recommend prewashing it before cutting and assembling. If you are worried about any of your fabrics bleeding when washed, it is better to prewash to avoid any worries. Another tip about quilt washing and care is to use colour catchers in the wash.
Batting
There is a variety of batting fibres to choose from. I included a description in my previous post. Batting comes in various sizes. Purchasing batting in pre-selected sizes is very common, crib, twin, queen and king sizes. When batting is purchased off the roll, it is most common to see 90 inch wide. Other rolls come 108 or 120 inches wide. Batting does take up room for storage. If you are considering to take your quilt top to a long armer, they usually have batting on hand and offer it at a special rate for their clients. It’s important to allow at least 2 inches extra on all sides. For example, if the quilt top is 40 by 50 inches, the batting should be 44 by 54 minimum.
Binding
A few rules of thumb for selecting binding are:
1. Imagine a picture frame.
2. Select a favourite print which could highlight the fabrics.
3. Imagine the binding as a frame around the quilt. Usually a darker print looks better.
4. Wait until the quilt is made and then audition fabrics to see what looks best.
5. Pay attention to other quilts and their bindings. Notice what appeals to you about the binding that was selected.
Backing
Backing fabric needs to be 2-4 inches wider on all four sides of the quilt. For example, if the quilt top is 40 by 40 inches the backing needs to measure 44 by 44 for quilting on a domestic machine or for a long arm quilting machine, 48 by 48.
Tips for Backing
- Needs to be square- when measured the top and bottom are the same measurement and the length of the sides are also the same as each other.
- Minky is a super soft and cozy fabric that comes in 60 and 90 inch wide backings.
- If a backing needs to be pieced, ensure that the selvage edges are sewn together using a 3/4 inch seam, make sure none of the selvage edges are showing when the seam is sewn. Press seam open.
- Keep in mind the directionality of fabric. There are a lot more exciting things to do than unpicking!
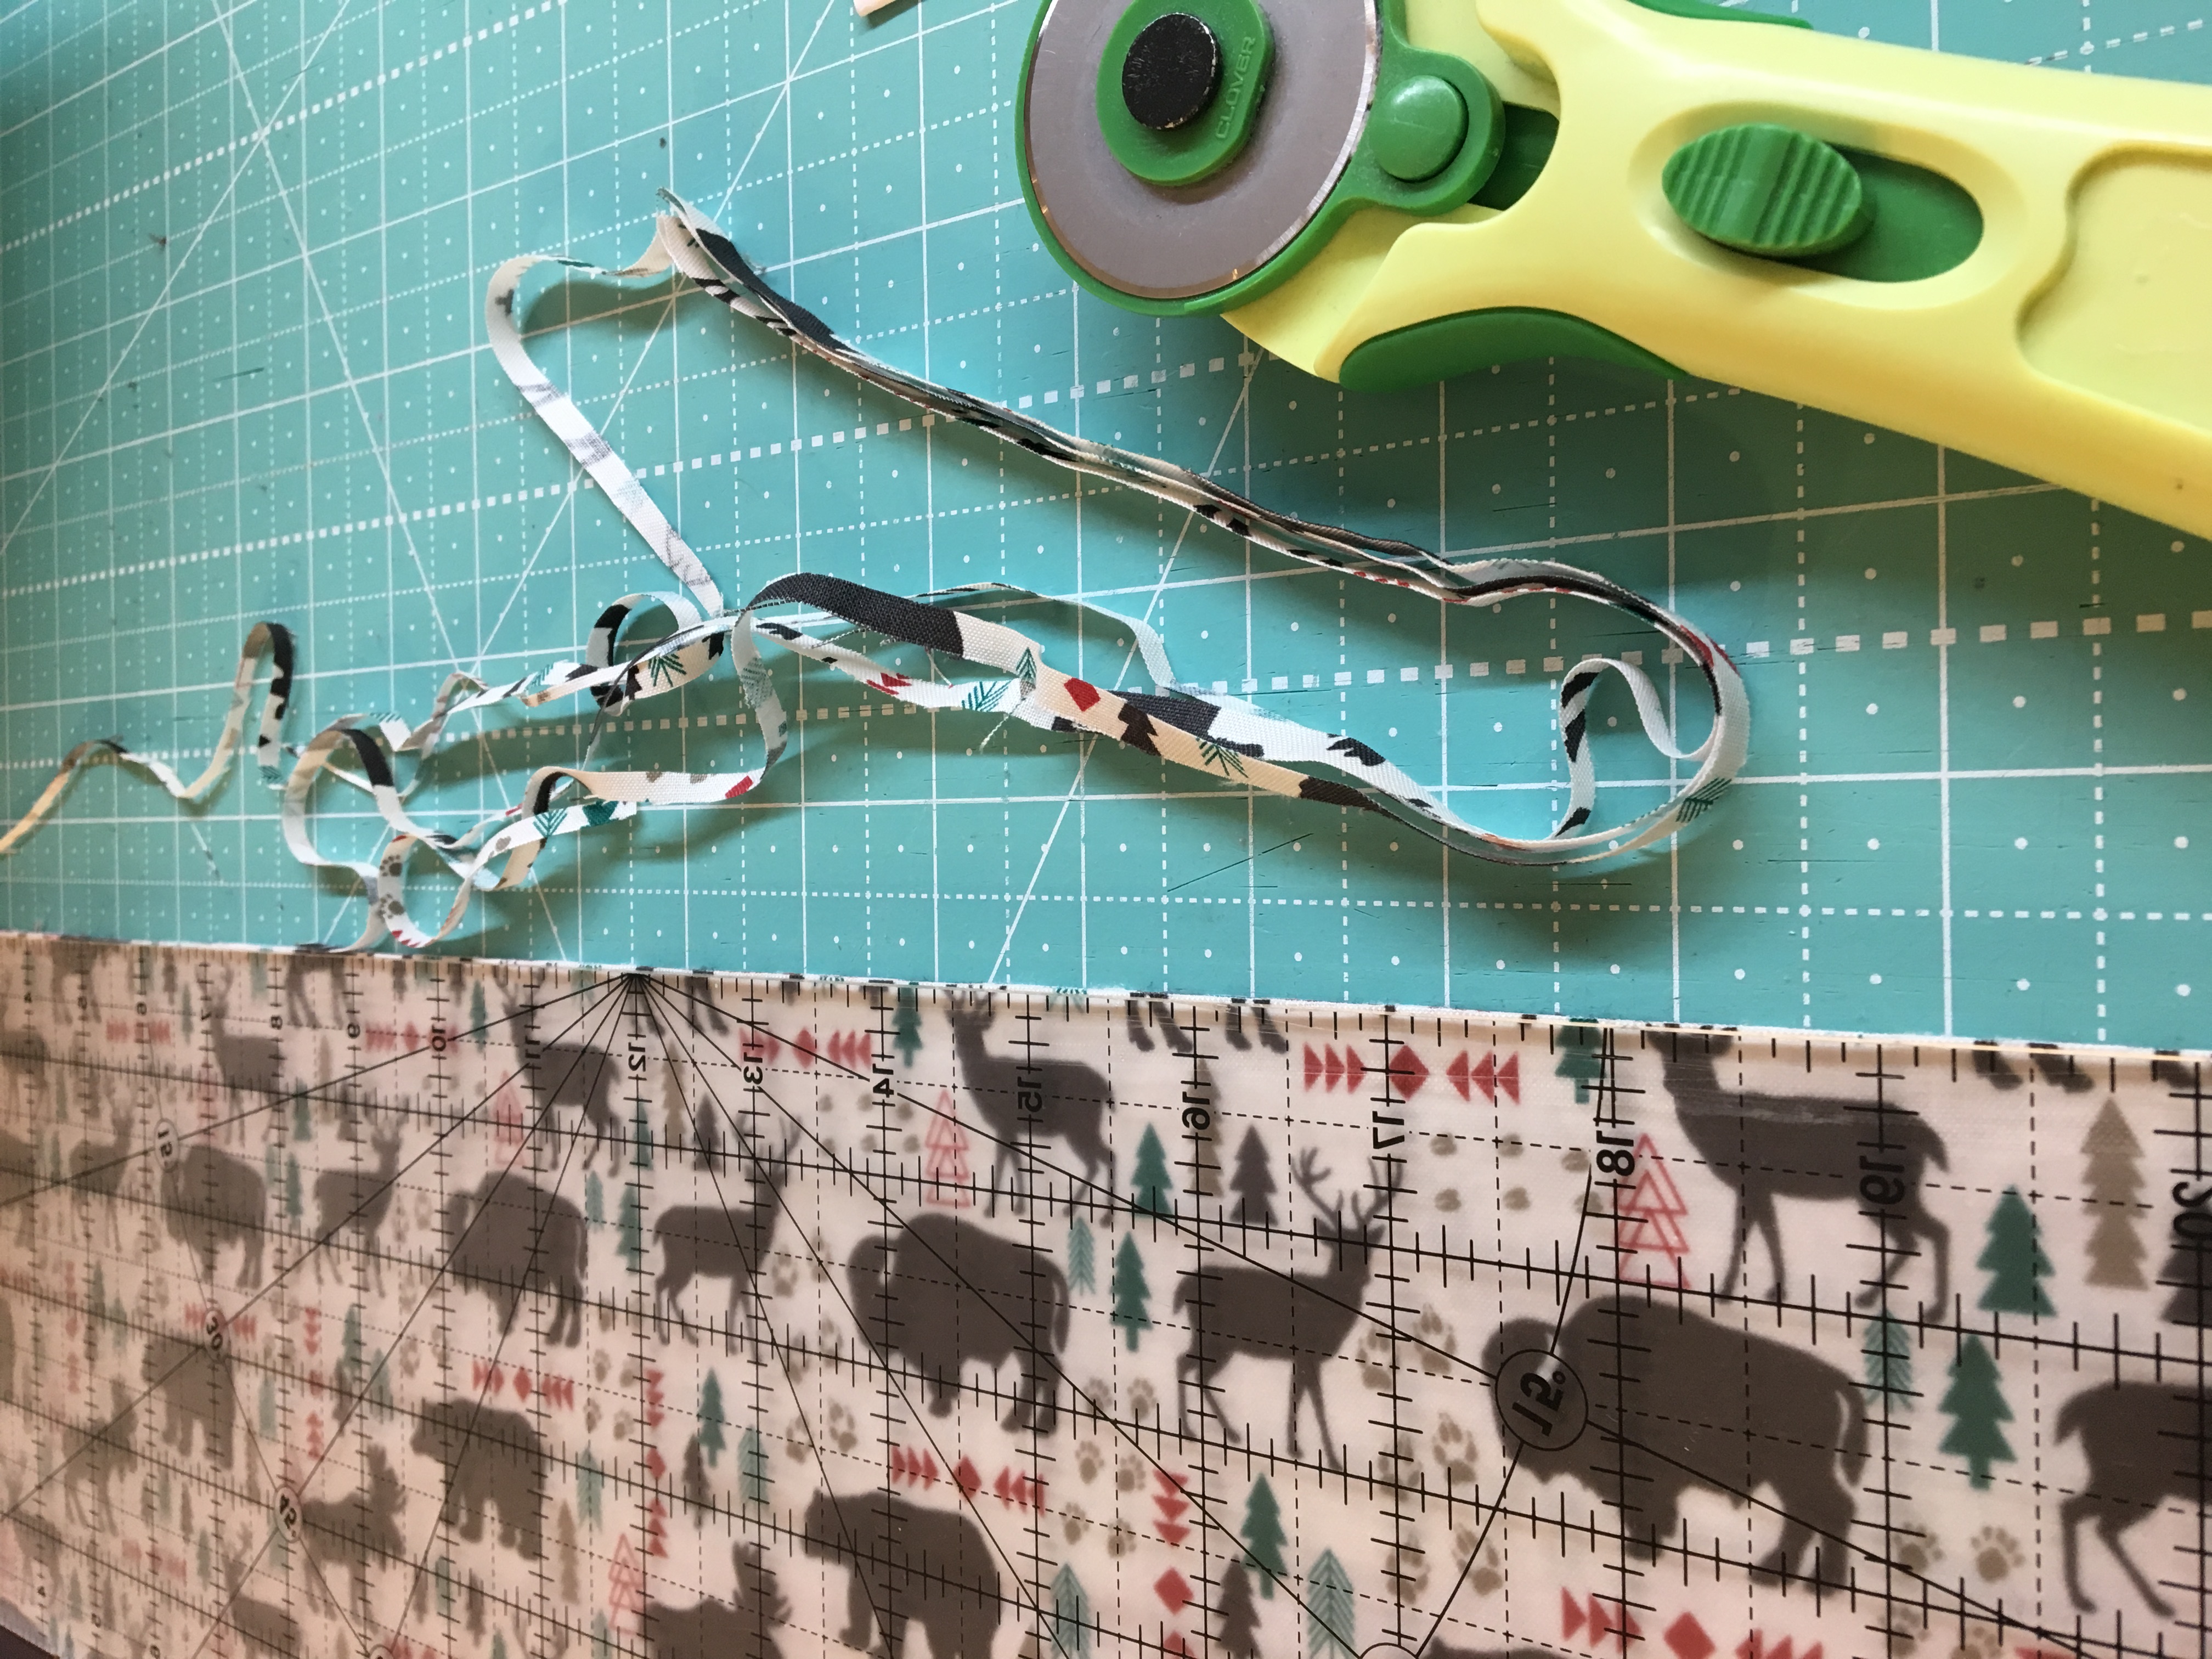
When fabric is bought by the bolt, fabric is approximately 42 inches wide. The selvage edges (the outer sides that have the writing on it) are not included in the construction of the quilt and need to be trimmed off before using in the construction of the quilt.
When cutting out the quilt from yardage (when the fabric comes off the bolt), lay the fabric flat on the cutting mat (this is when the large 36” by 24” mat is worth every penny), folded in half with the fold on the bottom and selvage edges are on the top. Place the 24” x 6.5” ruler vertically on top of the fabric. Before cutting out the fabric, the fabric edge (raw edge) needs to be straightened. To straighten the edge, trim off any raw edges by lining up the ruler as shown in the pic. Once this is done, the fabric is ready to be cut.
Subcut
Subcutting the fabric means smart cutting! For example if the pattern calls for 4 inch squares, cut 4 inches by WOF (width of fabric) so now there is a strip of 4 by 40 inches long. Lay the fabric across the cutting mat and then cut 4” pieces off of the strip.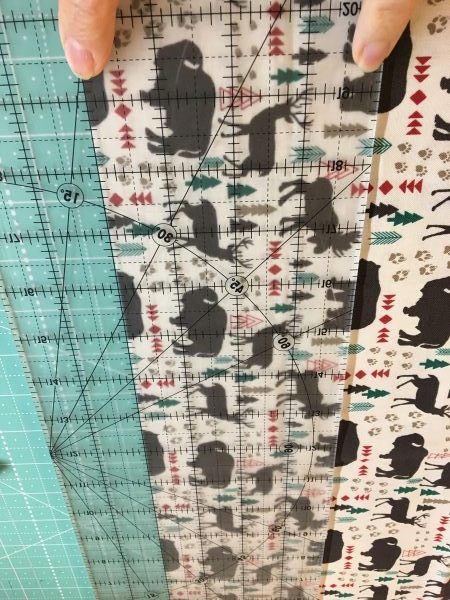
use the nice straight edge as a guide to cut off the 4 inch strip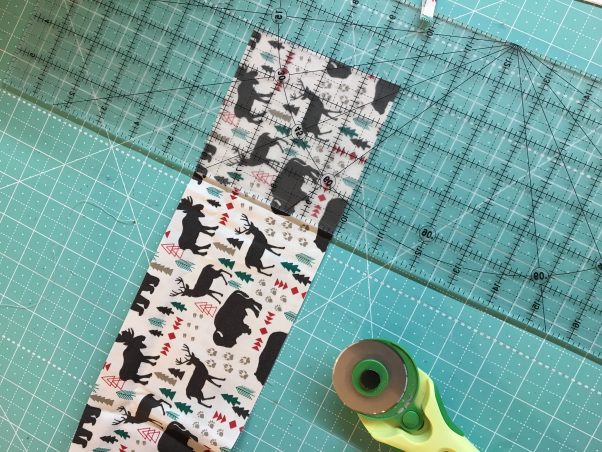 Subcutting
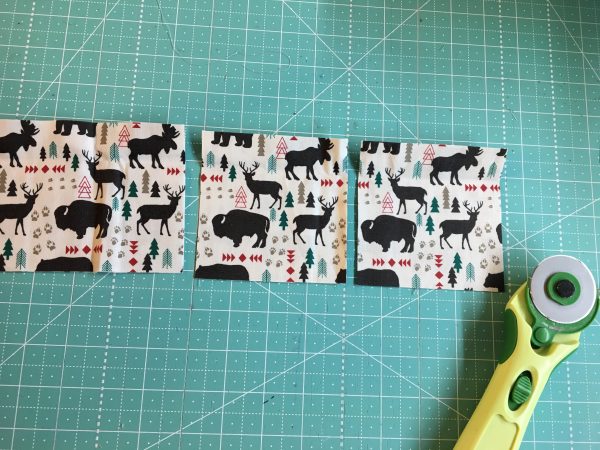 Sub cut squares ‘ta-da’[/caption]
Organizing
Using Wonder Clips is a fantastic way to keep pieces organized. For example, if the pattern calls for 3 2.5 inch strips by WOF in fabric 1 and fabric 2, write Fabric 1 on a piece of paper and clip it on the strips of fabric to keep track. I tried using sticky notes to keep organized, sadly they don’t stick very well so using a piece of paper (I use a cash register roll of paper) clipped with a Wonder Clip to keep track.
Spending a little bit of time building good habits when you first learn to quilt will save you a lot of time in the future. Learning through trial and error is totally fine. One of the benefits of belonging to an on-line quilting community is that we can exchange ideas and learn from each other.
Rotary Cutter
Having a sharp blade not only will save you time, but save your hands, wrists and shoulders. I purchase my blades in packs of 10 so I don’t ever find myself without a fresh blade. I have an empty blade case marked OLD where I dispose of all my worn out blades. Even though they are no longer helpful to use for cutting fabric, they are still very sharp and could cause a lot of damage.
Experiment with different rotary cutters to see what one feels good in your hand. Its also worth your time to see how the manufacture recommends that you position your hand when using it. They have spent a lot of time and effort designing the right size so benefit from their research.
Rulers
There are so many different rulers out there. I recommend that you add slowly to your collection as you gain experience with quilting. Starting off with the basics that I use in my quilt along is a great way to go. The Cute Cuts from Lori Holts collection and a 24 by 6 1/2 inch ruler are fantastic. From the Cute Cuts I use the squaring up rulers size 4.5 and 10.5. Also the smaller rectangle rulers are fantastic sizes like 5.5 x 10.5 and 3.5 x 6.5.
Enjoy the process.
Do you have the pattern yet?
Have extra fabric on hand if you mistake.
Are you subscribed to my email list? I will send more info throughout the week not available on youtube or on the blog!
Sharing is caring. I love to see your progress. Tag me @stitchedquiltingco and use the hashtag #charityqal
till next week…