How do you feel? You have your blocks constructed, trimmed and ready to go. This is a huge accomplishment. Using tools like rotary cutters, cutting mats and rulers is a huge learning curve, way to go.
I am all about efficiency with my quilting as a mom with limited time in the studio so I am excited to share with you my tried and tested methods for collating my top together
Now we are ready to move on to layout.
I am going to use the 9 Patch Wonder as my example of how to assemble the finished quilt.
Once all the assigned quilt blocks are put together, 12 9 patch blocks and 13 8” blocks are finished, lay them out in the desired way. Most patterns include a black and white rendition of their pattern to provide how the quilt is to be laid out.
Lay out the squares in the desired way. If kneeling over and using the floor, I find using a table helps. Sometimes I get out my 6 foot portable tables and put them side by side to provide a large work surface. Once the quilt is laid out how you desire I then mark each block. I use an old tape register roll and write the following:
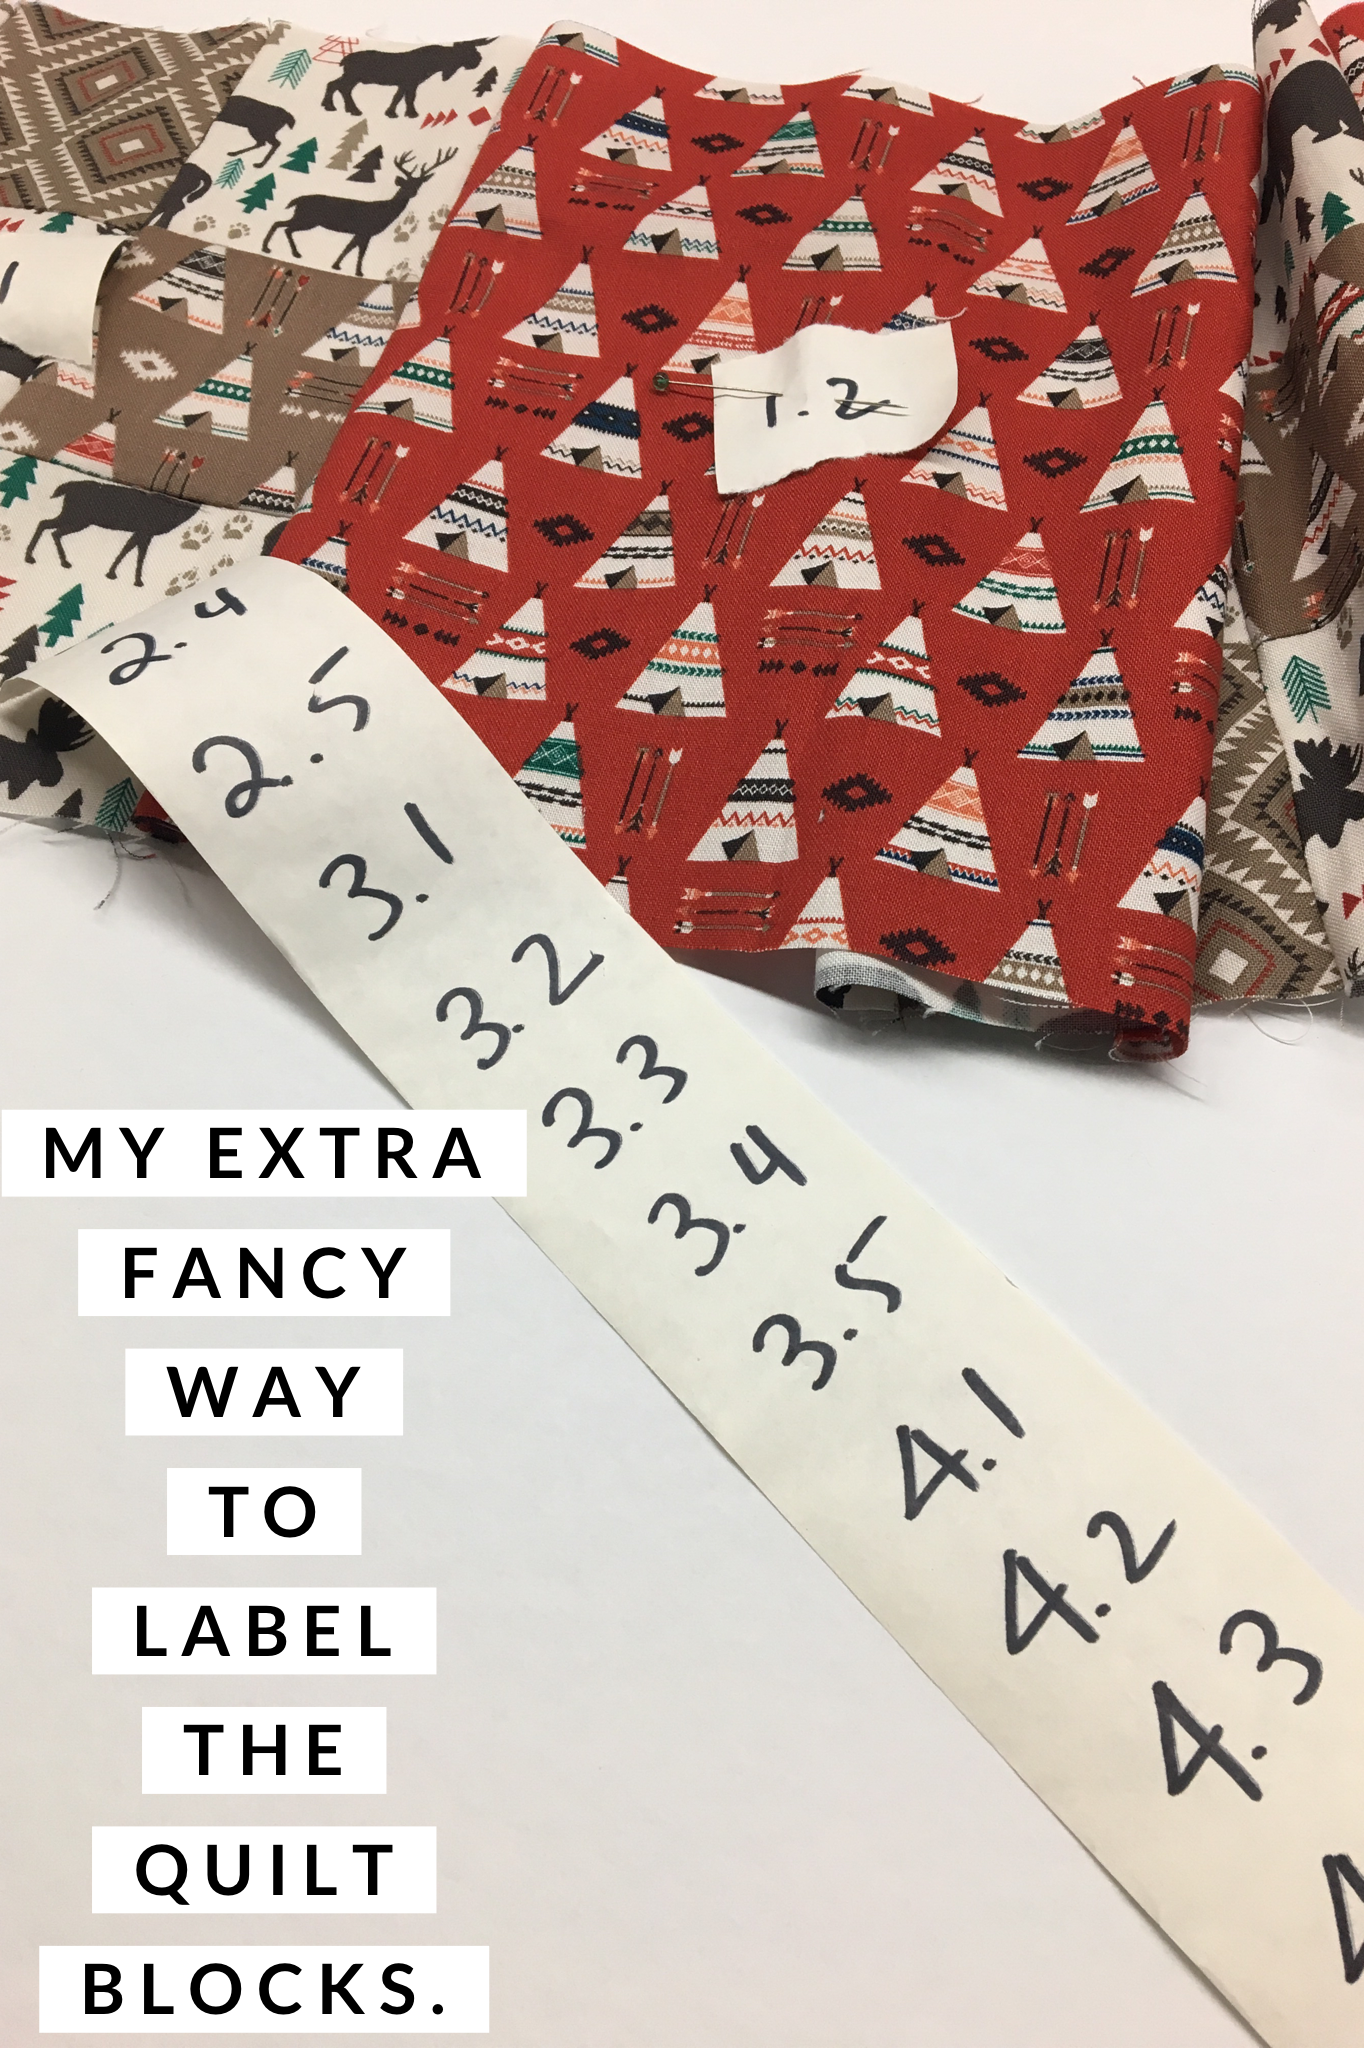
1.1, 1.2, 1.3, 1.4, 1.5
2.1, 2.2, 2.3, 2.4, 2.5
3.1, 3.2, 3.3, 3.4, 3.5
4.1, 4.2, 4.3, 4.4, 4.5
5.1, 5.2, 5.3, 5.4, 5.5

I then pin each label on each block. Although this may be a little bit tedious, I like to do this because I quilt in moments of time and have to go back and forth from quilting and dishes, and kid pick up and all other sorts of responsibilities. When the pieces are all labeled and ready to go whenever I am, I never worry about losing track of where the blocks will go. One time I had a quilt labeled, I had a baby and we moved across the country and I was able to reassemble all the pieces because they were labelled so well.
Another really helpful thing to do is take a picture of the quilt when it is laid out. This is helpful to keep track of the blocks, but it also helps see the layout in a different light. I once toke a class from Cheryl Arkinson and she taught that changing the colour of the quilt on the phone to black and white or greyscale to see if the block colours are evenly distributed.
Another bonus of taking a picture of your final layout is that you have the plan right on the phone so it can be replicated.
Sew the blocks together with a 1/4 inch seam one row at a time.
Pressing
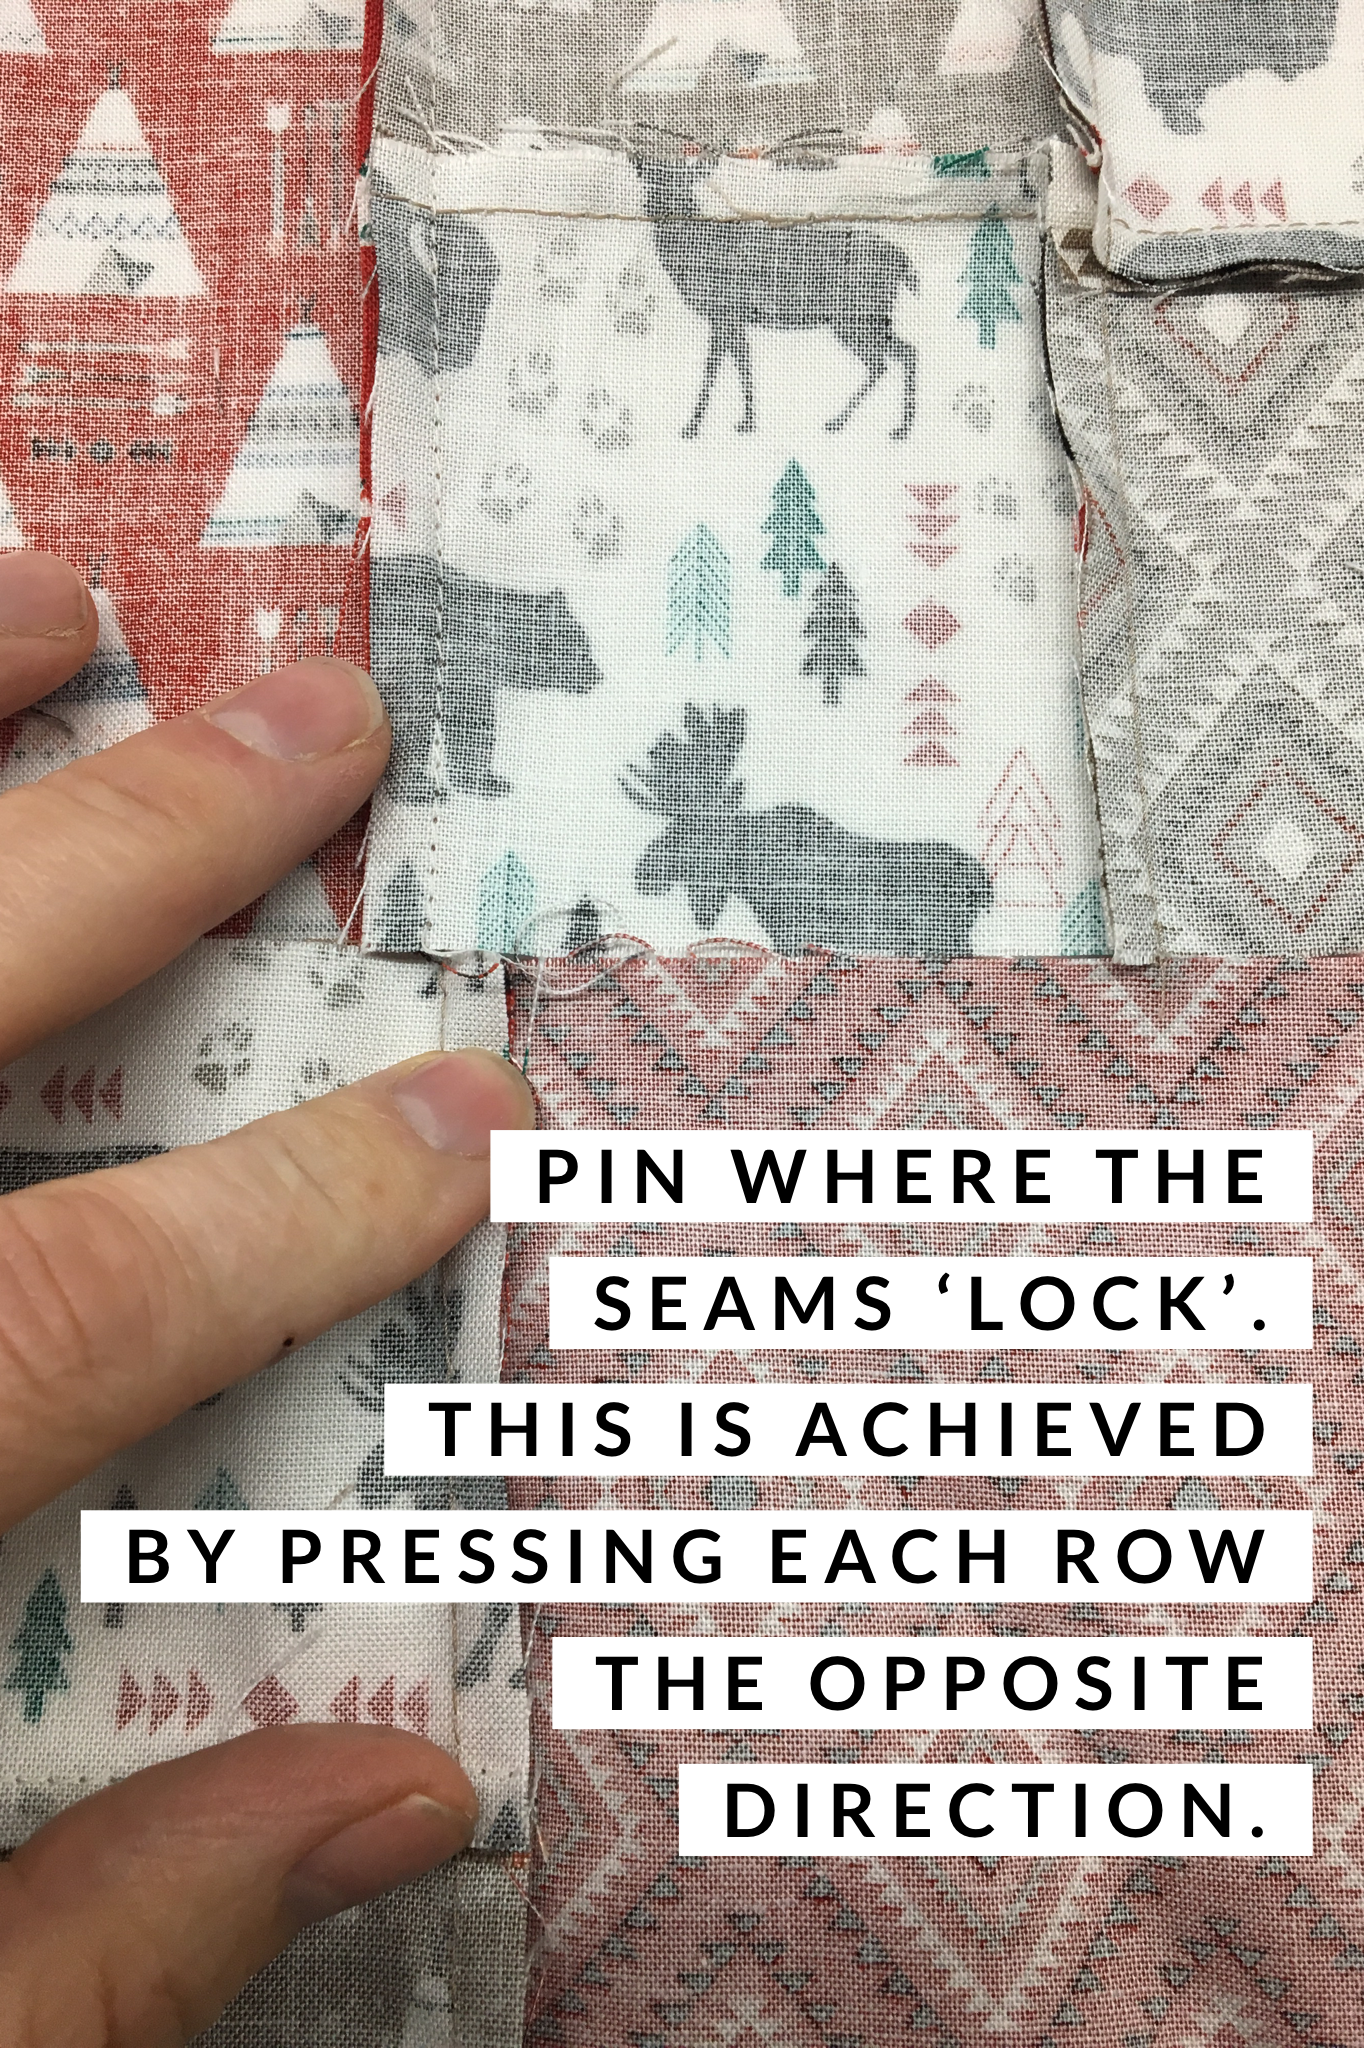
I press rows 1, 3, and 5 with the seams going right.
I press rows 2 and 4 with the seams going left.
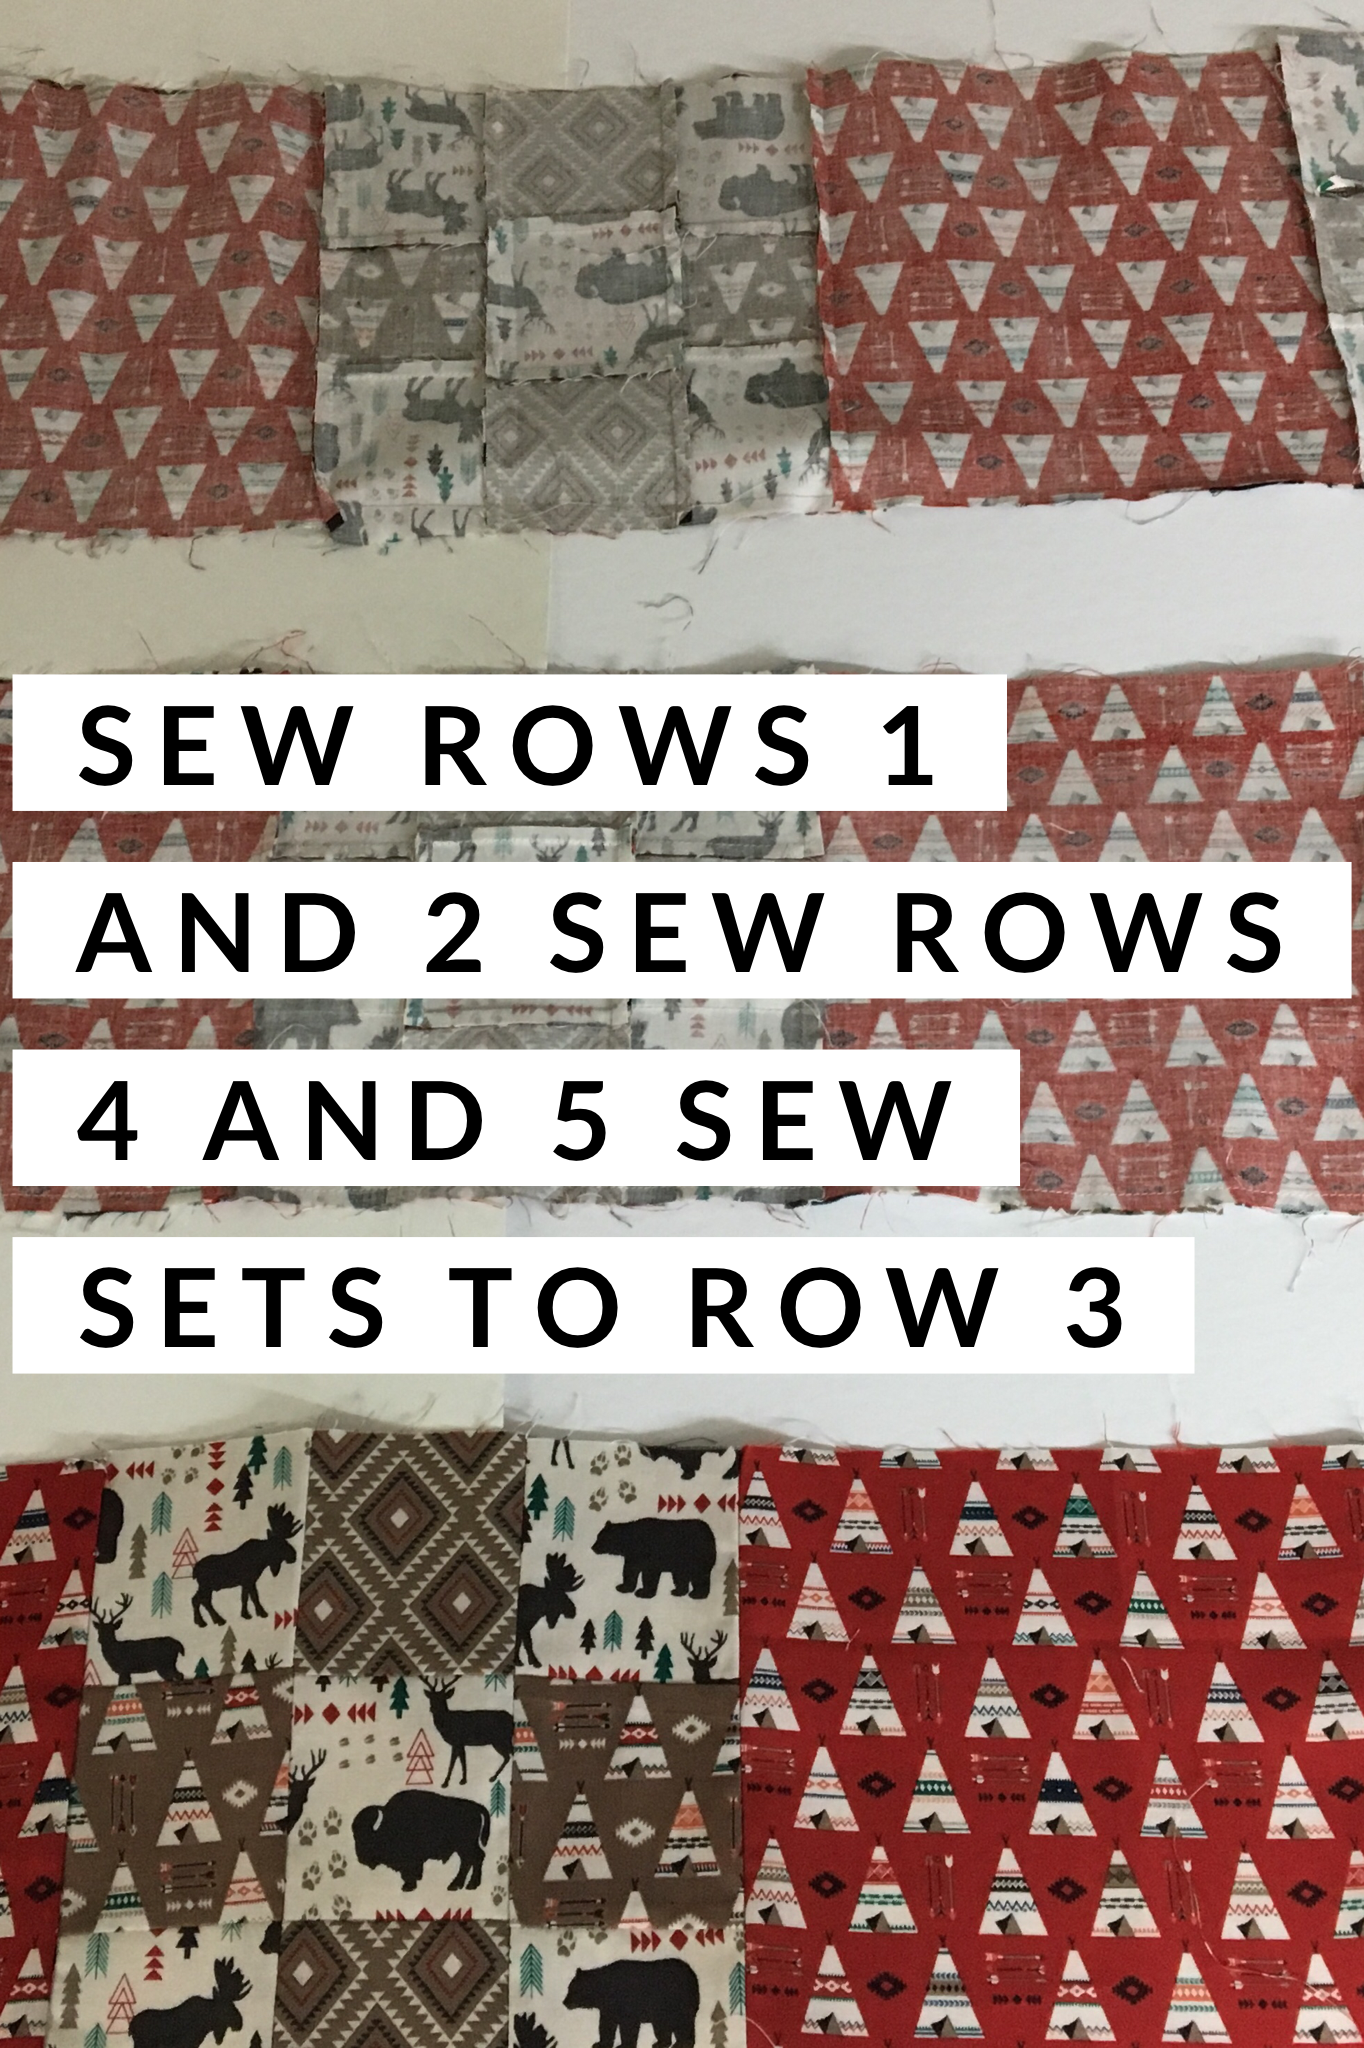
Now sew row 1 and 2 together right sides facing each other. Pin at the seams so that the rows will line up. Notice that the seams are facing the opposing way and lay flat. This is called locking seams. Press the new seam facing down.
Sew rows 4 and 5 pressing the seam facing down.
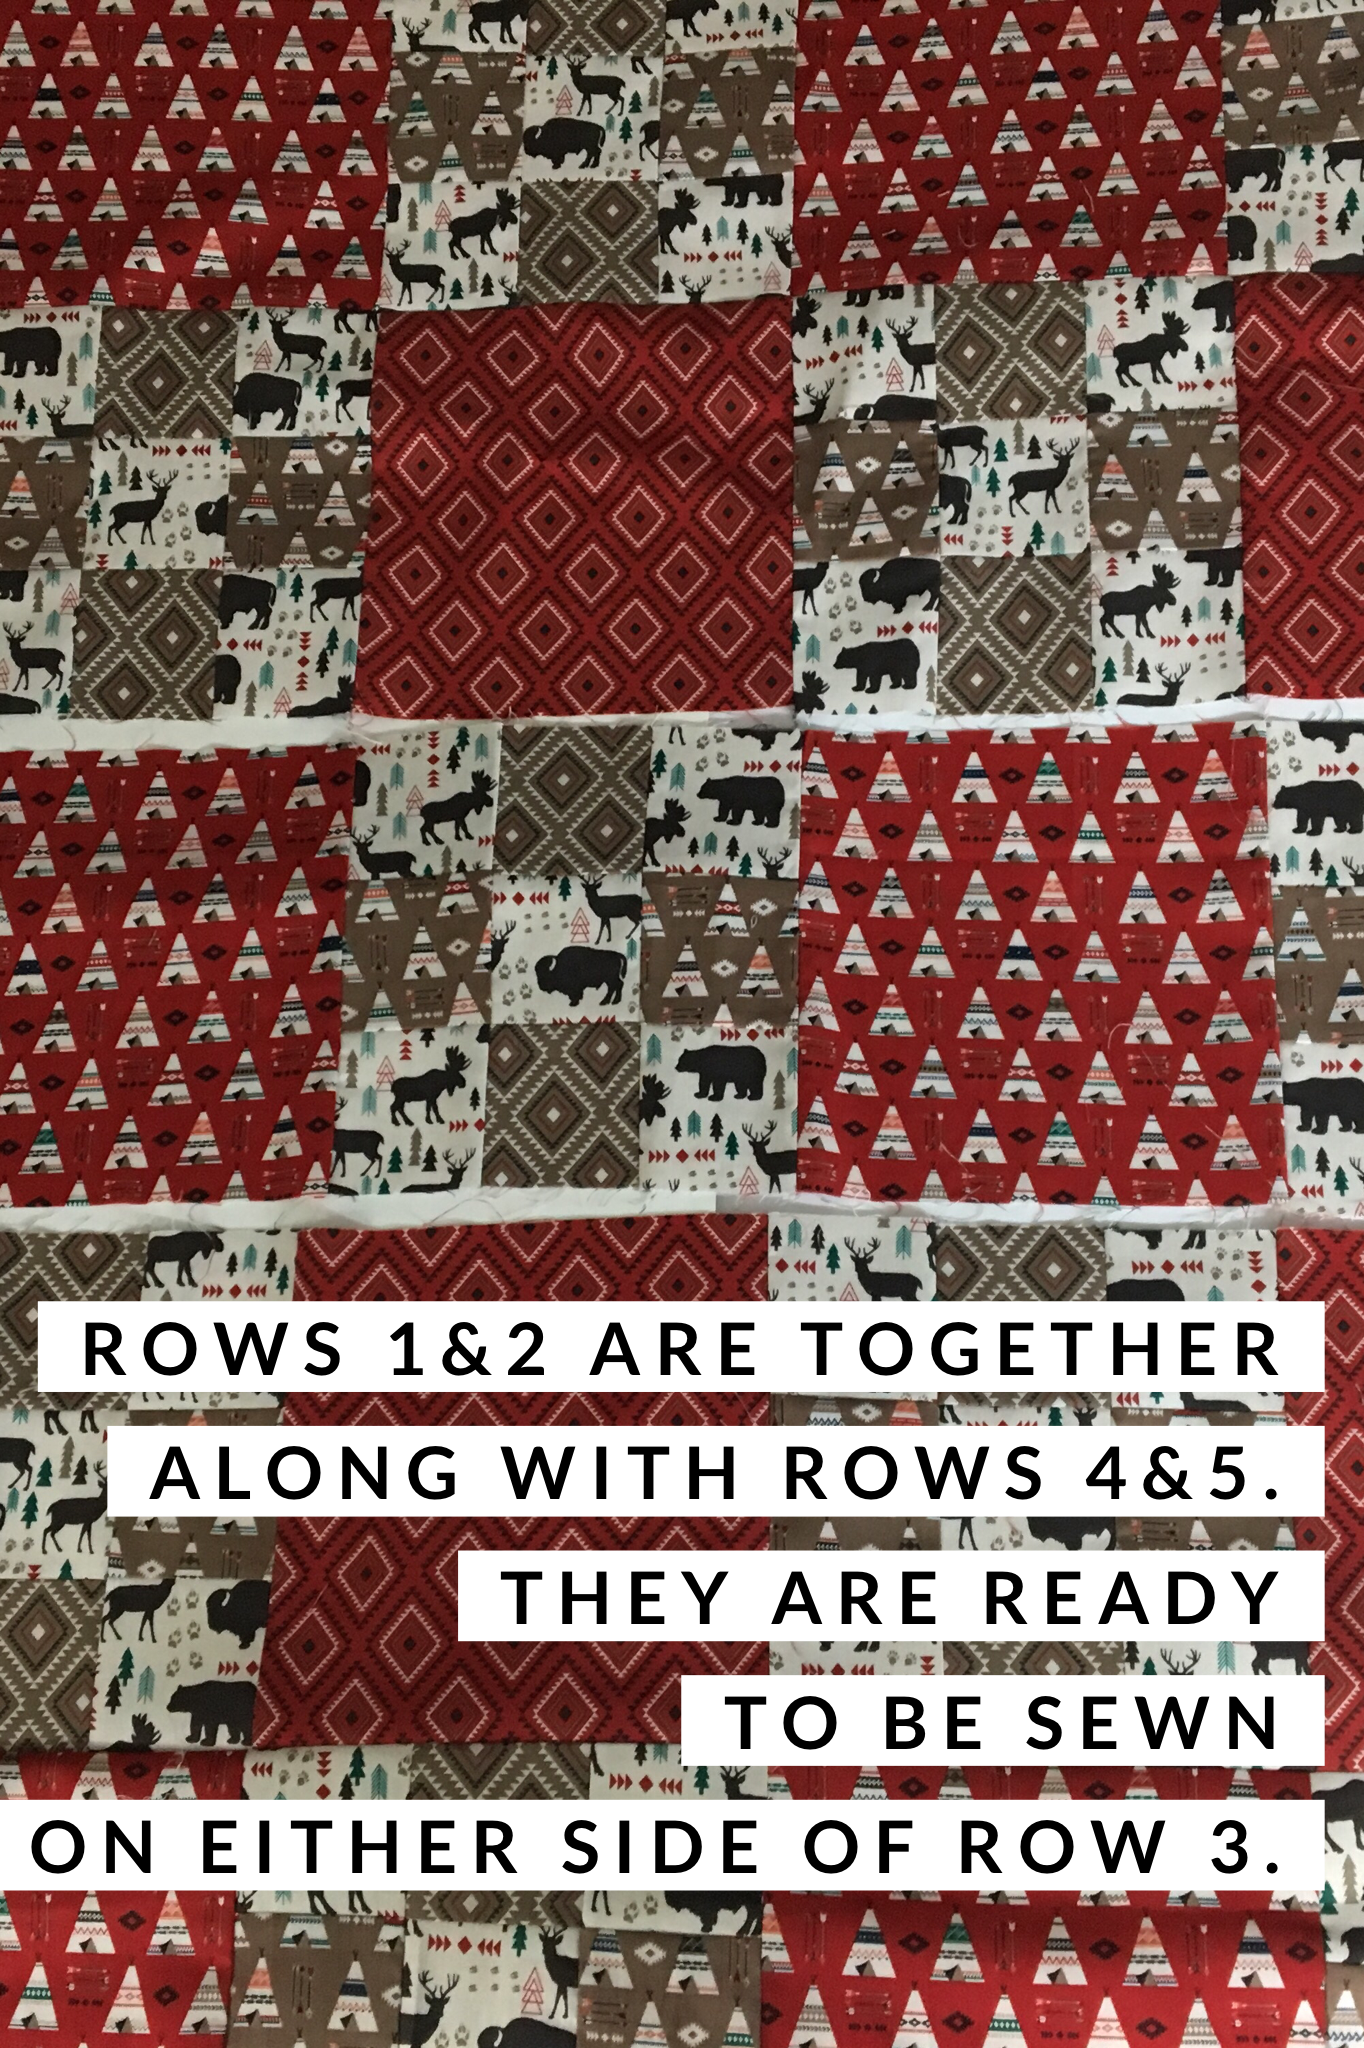
Sew row 3 on to the newly formed set of 4 and 5 and set 1 and 2. Press that seam down.
Sew 1 and 2 set to 3,4 and 5 set. Assure all seams are pressed down. The quilt top is now all sewn together!! Isn’t this exciting?!?
Please share your progress pics. You can always tag me on your pics so I can see what you are up too.
Also, don’t forget about my YouTube videos that explain the entire process.